Timeline view in Campaigns windows
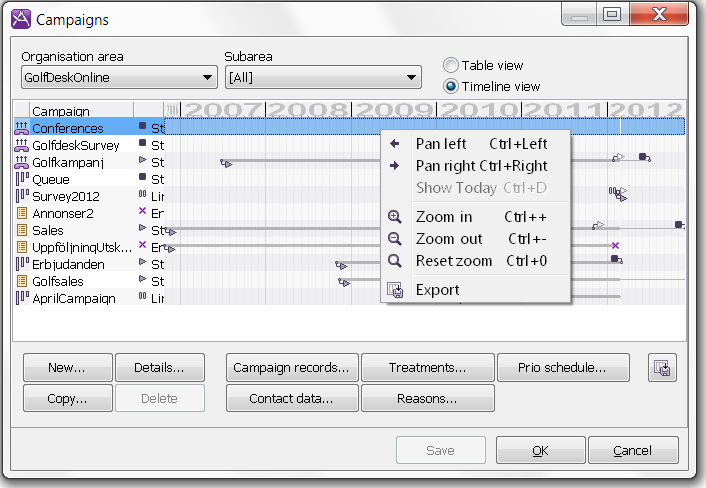
When you have selected Timeline view at the top of the Campaigns window you see a calendar area where you, graphically on a time line, see the planned times for start, termination, and status change for each campaign. The following five events can be found in the calendar area:
|

|
Start time
|
The attachment point of the icon marks the time when the campaign was started for the first time.
|
|

|
End time
|
The centre of the cross marks the time when the campaign was ended.
|
|

|
Planned start time
|
The attachment point of the icon marks the time for the planned start of the campaign.
|
|

|
Planned limitation time
|
The icon’s attachment point marks the time for planned limitation of the campaign. Limitation means that outbound calls for general campaign records are temporarily stopped.
|
|

|
Planned stop time
|
The attachment point of the icon marks the time for a planned stop time of the campaign.
|
Display other dates in the calendar area
The calendar area always displays the time span for all campaigns, i.e. if you switch to another organisation area with other campaigns for other time periods, the area is adjusted to display all the information. You can adjust the scale yourself and/or the position of the time view along the timeline using the pointer and the keyboard.

When you see your mouse pointer as a magnifying glass, the time-scale can be increased or reduced.
A help menu, with the various key combinations you can use, is shown if you right click on the date ruler at the top. If you are working with a mouse with a roller wheel, you can use this function:
To increase or reduce the time-scale:
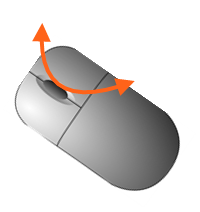
Place the pointer anywhere in the calendar area, press and hold Ctrl on your keyboard, and move the roller wheel forwards and backwards.

To move focus along the timeline:
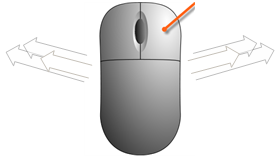
Place the pointer on the date ruler, press and hold Ctrl on the keyboard and then hold down the right mouse button dragging the mouse sideways.


